简单优化一下个人博客首页(迁移vitepress-beta版)
前言
笔者也算是vitepress的忠实用户了,尽管隔壁Astro看起来有多吸引人,我还是使用vitepress搭建个人博客。好吧,我承认主要还是懒😛
笔者前面已经从0.xx.xx版本迁移过alpha版本过一次,上次就是alpha版本中有很多吸引我的地方,所以迁移了,想详细了解的和想要入门vitepress的读者可以查看这篇文章--玩转vitepress1.0
注意,本文不会讲vitepress的基础搭建,如标题所示,本文的工作一是迁移,二是首页样式优化。至于基础,上述那篇文章里面都有讲解,如果你对vitepress不太熟悉,可以先查看上述文章
这次之所以想要从alpha.22版本迁移到beta版本,除了该版本更加稳定之外,主要还是因为增加了本地搜索的功能,试了一下非常不错,笔者之前是使用的第三方插件实现的本地搜索,现在官方支持了,自然得来玩玩...
如下是实现效果,你可以自己的justin3go.com中进行体验;并且,博客已开源至github,本文所有代码可以在该链接中找到。


集成giscus评论组件
简介
之前笔者使用的是gitalk实现静态博客的评论功能,这类组件都是利用github的api实现无需自建后端系统,即可实现评论系统的功能,总之非常方便,毕竟博客面向程序员,谁会没有github账号呢?
至于为什么笔者将gitalk替换为了giscus,主要还是因为颜值,更好看(始于颜值,忠于社区已经有4k stars了)。

当然,还有一些其他优点,这里简单贴一下giscus官网介绍的优点(机翻):
封装
使用giscus vue版本会有一点小坑,可以在该Issue中详细看到,所以这里使用giscus提供的原生的JS版进行封装使用:
<template>
	<div class="comments">
		<component
			v-if="showComment"
			src="https://giscus.app/client.js"
			:is="'script'"
			:key="title"
			:data-repo="giscusConfig.repo"
			:data-repo-id="giscusConfig.repoId"
			:data-category="giscusConfig.category"
			:data-category-id="giscusConfig.categoryId"
			:data-mapping="giscusConfig.mapping"
			:data-strict="giscusConfig.strict"
			:data-reactions-enabled="giscusConfig.reactionsEnabled"
			:data-emit-metadata="giscusConfig.emitMetadata"
			:data-input-position="giscusConfig.inputPosition"
			:data-lang="giscusConfig.lang"
			:data-theme="giscusConfig.theme"
			:data-loading="giscusConfig.loading"
		/>
	</div>
</template>
<script lang="ts" setup>
import { reactive, ref, watch } from "vue";
import { useData, useRoute } from "vitepress";

const route = useRoute();

const { title } = useData();

// params generate in https://giscus.app/zh-CN
const giscusConfig = reactive({
	repo: "justin3go/justin3go.github.io",
	repoId: "XXX",
	category: "Q&A",
	categoryId: "XXX",
	mapping: "title",
	strict: "0",
	reactionsEnabled: "1",
	emitMetadata: "0",
	inputPosition: "top",
	theme: "light",
	lang: "zh-CN",
	loading: "lazy",
});

const showComment = ref(true);
watch(
	() => route.path,
	() => {
		showComment.value = false;
		setTimeout(() => {
			showComment.value = true;
		}, 200);
	},
	{
		immediate: true,
	}
);
</script>
<style>
/* // TODO 使用giscus自定义主题结合vitepress主题切换 */
.comments {
	background-color: #ffffff;
	padding: 20px;
	border-radius: 10px;
}
</style>注意上述你不知道怎么填的参数都生成至该网站giscus.app,这里就不一步步演示了,很简单的可视化操作。
上述代码可以在github这个位置找到,细心的读者可能注意到了留下的TODO: 使用giscus自定义主题结合vitepress主题切换,这是因为当前giscus的自定义主题还处于实验性版本,所以就没去做白/夜模式切换适配了,目前仅加了和白色背景保证黑夜模式下可读。
使用
封装后使用就非常简单了,由于vitepress提供了全局doc的插槽,所以我们直接在定义所有的文章下面doc-after都有该评论组件:
// https://vitepress.dev/guide/custom-theme
import { h } from "vue";
import Theme from "vitepress/theme";
import "./style.css";
import comment from "./components/comment.vue";
import copyright from "./components/copyright.vue"

export default {
	...Theme,
	Layout: () => {
		return h(Theme.Layout, null, {
			// https://vitepress.dev/guide/extending-default-theme#layout-slots
			"doc-after": () => h(comment),
			"doc-footer-before": () => h(copyright),
		});
	},
	// ...
};上述代码你可以在该github链接中找到完整示例
实现视频自适应背景
设计理念
一些设计理念:笔者的笔名为Justin3go,Justin为我的英文名,3go代表的gogogo,即向前冲的决心,坚持深耕技术领域。狼是我喜欢的动物,奔跑则与gogogo相对应。
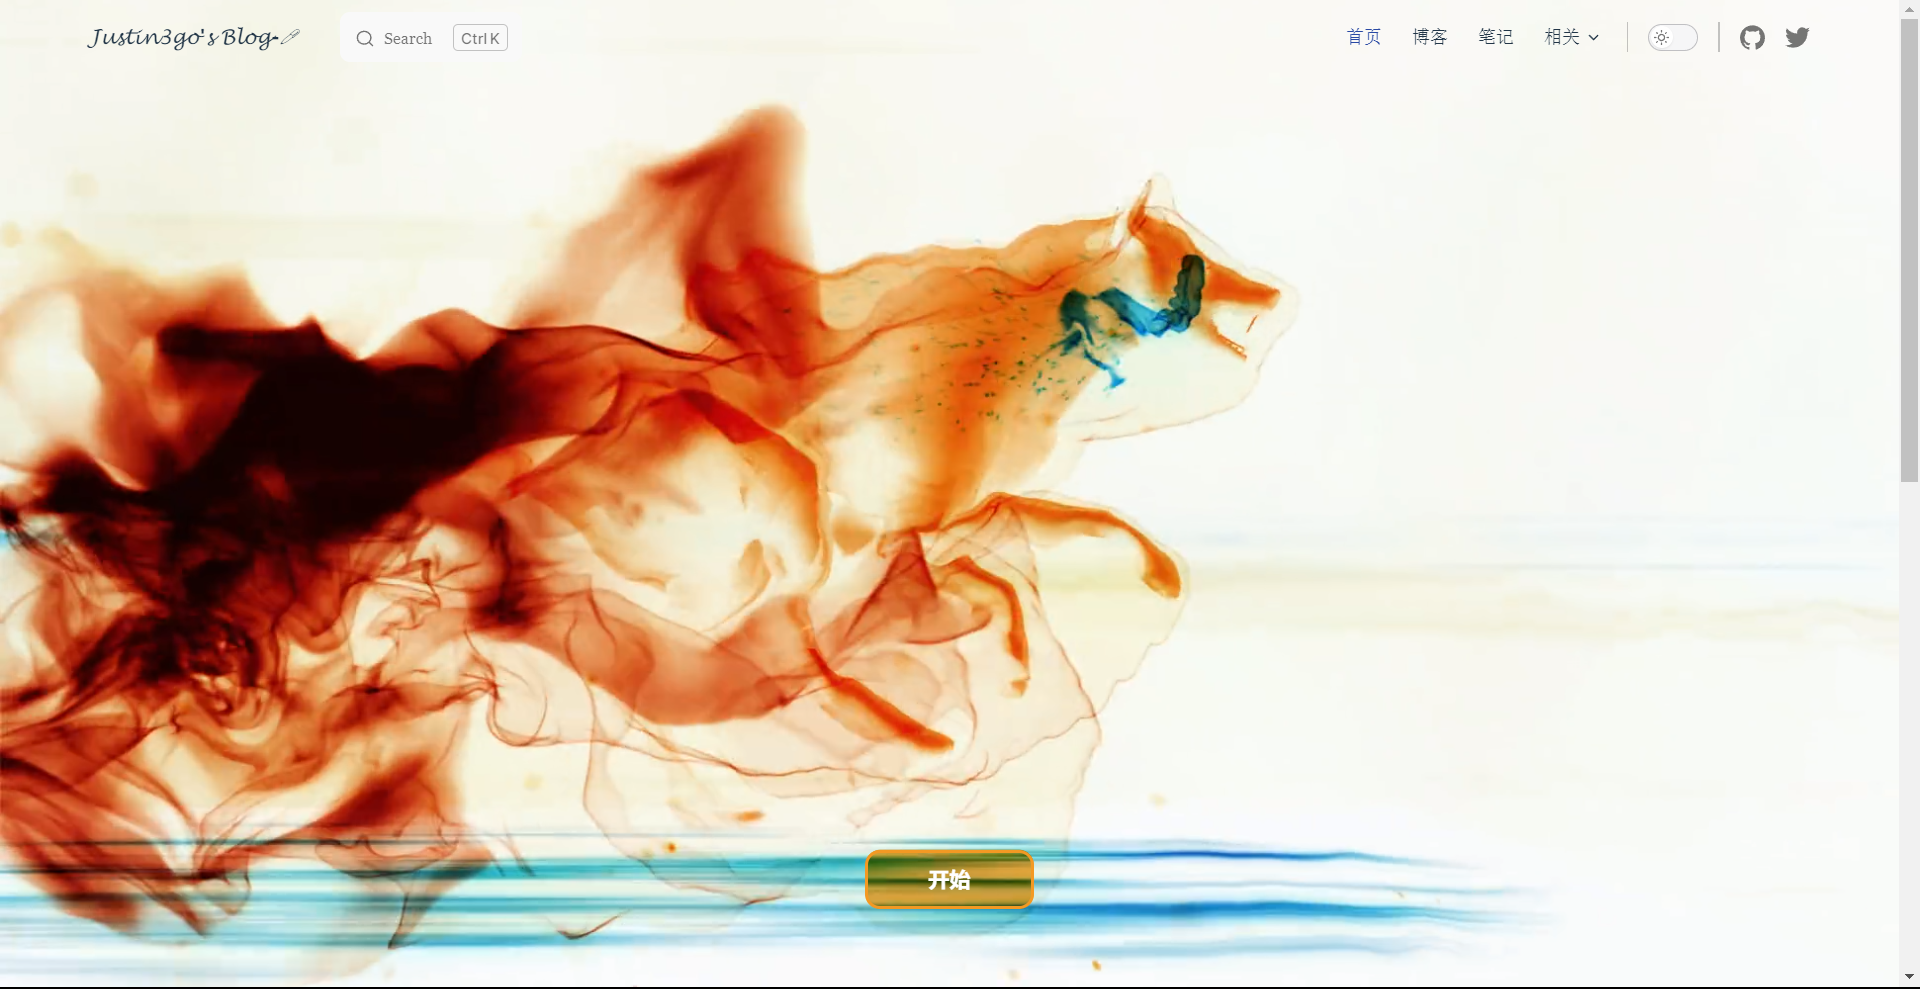
实现
由于笔者有PhotoShop相关的背景,所以很容易地去想CSS中是否有混合模式这个概念,然后就被我发现了一个这样的属性mix-blend-mode: difference,好,没了。当然,好像还有一种比较复杂的方式用canvas结合视频的alpha通道实现,这里不深究,仅提一下。
最后,增加一些细节:
- 视频始终铺满屏幕
- 开始
button
这里不展开了,还是,感兴趣的可以在github的这里找到该页面的实现,下方为主要代码摘要:
<div class="video-container">
	<video class="logo-video" autoplay loop muted>
		<source src="https://oss.justin3go.com/blogs/justin3go.mp4" type="video/mp4" />
	</video>
	<div class="button-container-outer" @click="handleClick">
		<div class="container-button">
			<div class="hover bt-1"></div>
			<div class="hover bt-2"></div>
			<div class="hover bt-3"></div>
			<div class="hover bt-4"></div>
			<div class="hover bt-5"></div>
			<div class="hover bt-6"></div>
			<button></button>
		</div>
	</div>
</div>.video-container {
height: 100vh;
width: 100%;
overflow: hidden;
display: flex;
justify-content: center;
position: relative;
top: 0;
}
/* 小于960px会增加return-top那一栏并且不会透明 */
@media (max-width: 960px) {
.video-container {
height: calc(100vh - var(--vp-nav-height) - 47px);
}
}
.logo-video {
mix-blend-mode: difference;
height: 100%;
min-width: 100%;
object-fit: cover;
}实现最近发布
设计理念
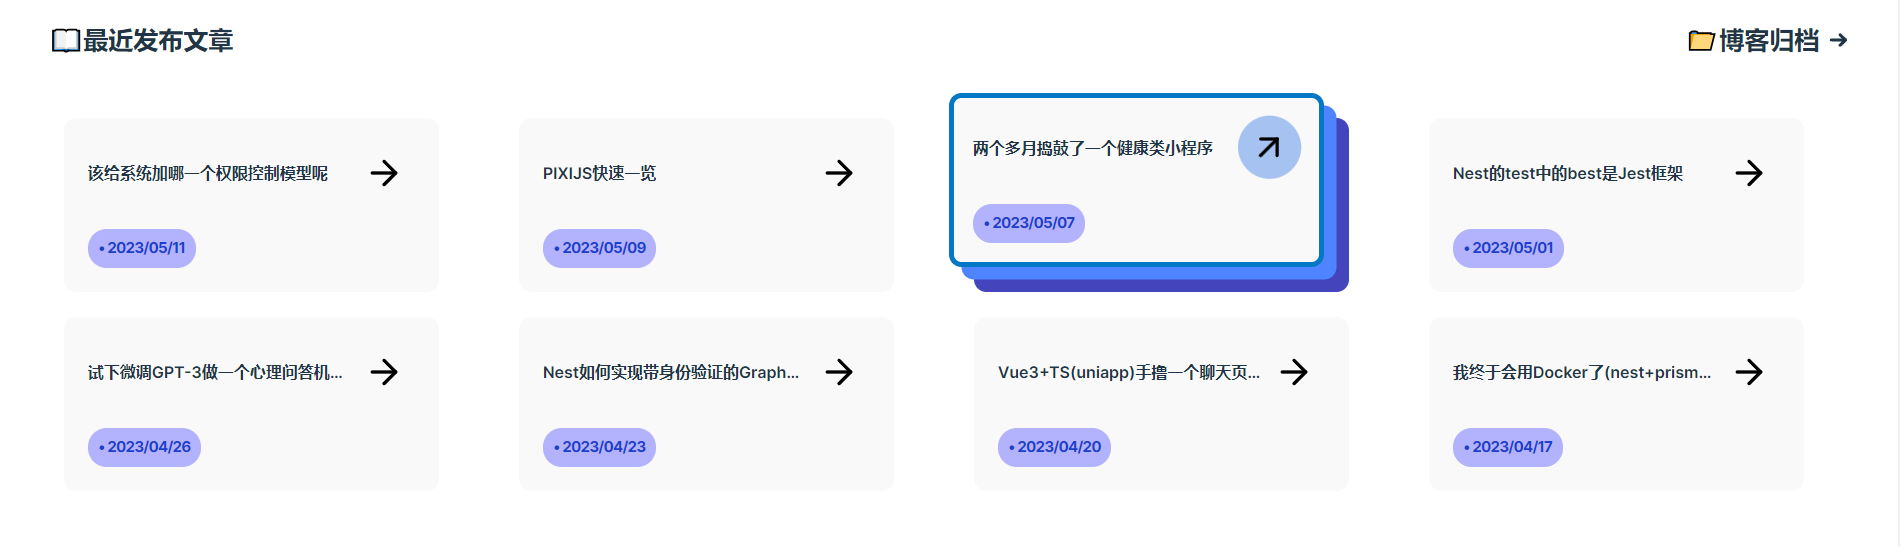
一些设计理念:
- 为什么不做分页以展示全部的文章,笔者理解读者更多只会查看最近几篇文章,就和google搜索出来的结果80%的人都不会点击第二页一样;
- 至于想要查看笔者以前的文章,则直接点击笔者的博客归档就可以了,侧边栏加内容加大纲的方式是笔者理解的一种非常好的阅读页面设置;
- 为什么不做摘要和封面,只有题目:懒🤣
获取最近10篇文章
基本思路:由于笔者博客的侧边栏就是按时间顺序排列的,如:

所以实现起来非常简单,用一个递归来转换遍历一下这个数据结构就可以了:
侧边栏的数据结构类型:
export enum TAB {
	BLOG = "/博客/",
	NOTE = "/笔记/",
}

export interface IItems {
	text: string;
	link: string;
	collapsed?: boolean;
	items?: IItems[];
}

export interface ISideBar {
	[TAB.BLOG]: IItems[];
	[TAB.NOTE]: IItems[];
}
实现:
import { createSidebar, TAB } from "./createSidebar";

export interface IPost {
  text: string;
  link: string;
}

export function getRecentlyPost(tab: TAB = TAB.BLOG, recentlyPostNumber = 10) {
	const allSideBar = createSidebar();
	const curSideBar = allSideBar[tab];

	// 遍历找到所有items,如果items中没有包含子items,则将其text,link加入,达到5个就跳出循环
  const posts: IPost[] = []
	function findItems(items: typeof curSideBar){
    if(posts.length >= recentlyPostNumber) return;
    for(const item of items) {
      if(item["items"]) {
        findItems(item["items"])
      } else {
        posts.push({
          text: item.text,
          link: item.link,
        })
      }
      if(posts.length >= recentlyPostNumber) return;
    }
  }
  findItems(curSideBar);
  // 由于文章本来就是按顺序排列的,所以直接返回
  return posts;
}
前端展示

然后展示在前端就可以了,为了方便,我就直接用flex布局+设置了只展示两行以实现自适应,多的就隐藏吧。
<div class="recently-posts-head">
	<div class="title">📖最近发布文章</div>
	<link-button text="📁博客归档" link="/博客/"></link-button>
</div>
<div class="recently-posts">
	<div class="post-item" v-for="post in recentlyPosts" :key="post.date">
		<article-card :text="post.text" :link="post.link" :date="post.date"></article-card>
	</div>
</div>interface IRecentlyPosts {
text: string;
link: string;
date: string;
}
const initRecentlyPosts = getRecentlyPost();
const recentlyPosts: Ref<IRecentlyPosts[]> = ref(
initRecentlyPosts.map((item) => ({
date: item.link.substring(4, 14),
text: item.text.substring(2),
link: item.link,
}))
);.recently-posts {
display: flex;
flex-wrap: wrap;
justify-content: space-around;
padding: 20px;
width: calc(100vw - 40px);
height: 340px;
overflow: hidden;
}
.post-item {
margin: 10px;
}
.recently-posts-head {
display: flex;
justify-content: space-between;
padding: 20px 40px;
}
.recently-posts-head .title {
font-size: 20px;
font-weight: 900;
}同样,你可以在这个github链接中找到完整的代码。
CI
具体的部署这里同样也不展开讲了,比如如何使用github pages这些,网上应该有非常丰富的教程。
vitepress官网的CI可以在该链接中找到,基于此,我做了一些简单的修改,如使用pnpm:
name: Deploy
on:
  workflow_dispatch: {}
  push:
    branches:
      - master
jobs:
  deploy:
    runs-on: ubuntu-latest
    permissions:
      pages: write
      id-token: write
    environment:
      name: github-pages
      url: ${{ steps.deployment.outputs.page_url }}
    steps:
      - uses: actions/checkout@v3
        with:
          fetch-depth: 0
      - uses: pnpm/action-setup@v2
        with:
          version: 8.6.0
      - uses: actions/setup-node@v3
        with:
          node-version: 16
          cache: pnpm
      - run: pnpm install --frozen-lockfile
      - name: Build
        run: pnpm docs:build
      - uses: actions/configure-pages@v2
      - uses: actions/upload-pages-artifact@v1
        with:
          path: docs/.vitepress/dist
      - name: Deploy
        id: deployment
        uses: actions/deploy-pages@v1
自动生成ChangeLog
on:
  push:
    tags:
      - 'v*' # Push events to matching v*, i.e. v1.0, v20.15.10

name: Release

jobs:
  release-please:
    runs-on: ubuntu-latest
    steps:
      - uses: GoogleCloudPlatform/release-please-action@v3
        id: release
        with:
          token: ${{ secrets.RELEASE_TOKEN }}
          release-type: node
          package-name: standard-version
changelog-types: '[{"type": "types", "section":"Types", "hidden": false},{"type": "revert", "section":"Reverts", "hidden": false},{"type": "feat", "section": "Features", "hidden": false},{"type": "fix", "section": "Bug Fixes", "hidden": false},{"type": "improvement", "section": "Feature Improvements", "hidden": false},{"type": "docs", "section":"Docs", "hidden": false},{"type": "style", "section":"Styling", "hidden": false},{"type": "refactor", "section":"Code Refactoring", "hidden": false},{"type": "perf", "section":"Performance Improvements", "hidden": false},{"type": "test", "section":"Tests", "hidden": false},{"type": "build", "section":"Build System", "hidden": false},{"type": "ci", "section":"CI", "hidden":false},{"type": "chore", "section":"Chore", "hidden":false}]'上述CI脚本你可以在该链接中找到
最后
感谢点赞,感谢⭐star⭐ >> github,访问我的博客>>justin3go.com,本次分享到这里也就结束了,已经又有好久没写博客了,今年定下了每月4篇+文章输出的目标,上个月11号写完四篇就再也没写过了😂